
1–2 Hour Dry Time: Technician Tested Steam for Car Interiors
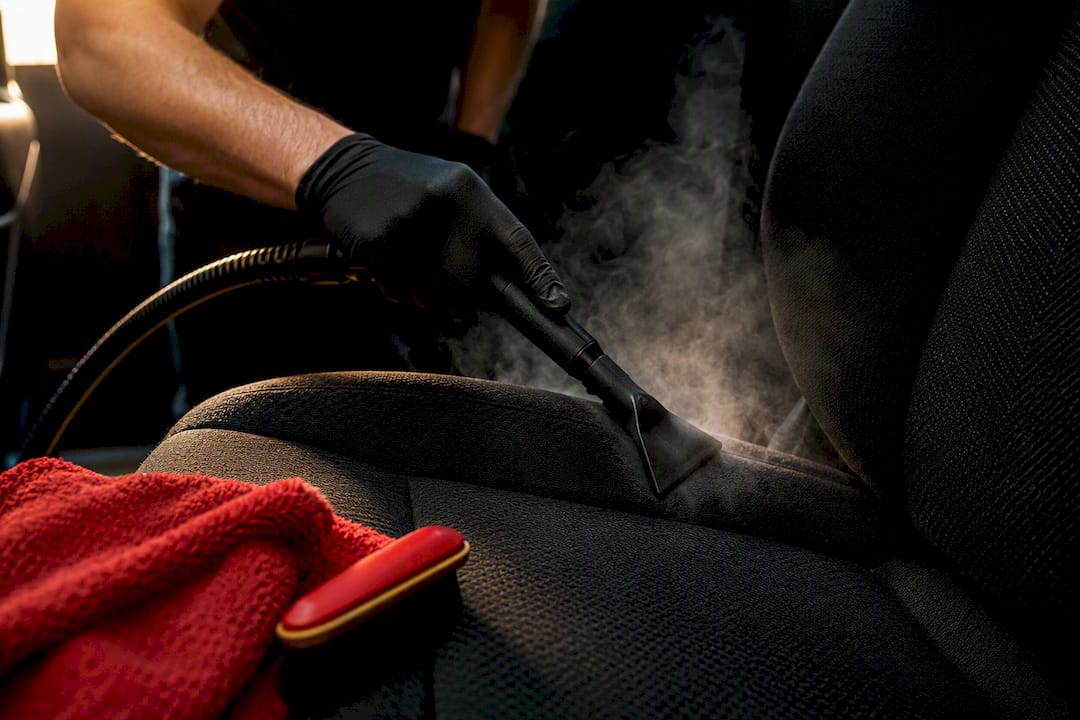
Yes, when done correctly, dry-vapor steam cleaning safely sanitizes and lifts most surface stains from car interiors, and properly steamed seats often dry within a couple of hours. The limits show up with deep-set contamination: old protein stains, urine that has soaked into padding, or mold need professional extraction, not a handheld steamer alone.
TL;DR:
Steam cleaning is effective for routine maintenance and light stains but cannot fully remove deep-set protein, urine, or mold contamination.
Proper preparation includes thorough vacuuming, testing hidden spots, and indirect steam use on electronics to avoid damage.
Applying steam in small sections, agitating with a brush, and blotting immediately prevents oversaturation and long drying times.
Professional extraction equipment is necessary for deeply contaminated seats or mold, as handheld steamers lack sufficient suction and moisture removal.
DIY steam cleaning risks include oversaturating surfaces, damaging electronics or headliners, and inefficient results if not paired with proper extraction.
Table of Contents
When Is Steam Cleaning the Right Choice for a Car Interior?
Steam cleaning shines as routine maintenance, not as a rescue mission for years of neglect. If you’re dealing with a fresh coffee spill, ground-in dirt on the floor mats, or that lingering smell from a wet dog, dry-vapor steam handles it well. It’s also the best tool we know of for sanitizing high-touch points like the steering wheel, door handles, and shifter without soaking anything.
Where steam alone falls short is deep, old contamination. Steam loosens soil, but it doesn’t always pull out deep-set protein or urine residue sitting in the foam padding beneath your upholstery. Mold growing inside a cushion, a saturated foam seat base, or an infestation across multiple rows of seating all call for professional-grade extraction.
Run through this before you grab the steamer:
Is the stain fresh or under six months old? Steam is usually enough.
Can you smell the odor from outside the car with the doors closed? That points to something below the surface.
Is there visible mold, or does a cushion feel damp days after a spill? Call a professional.
Are you cleaning one seat or an entire cabin’s worth of neglect? Scale matters for time and results.
How Do You Prep a Car Interior Before Steaming It?
Skipping prep is how a good steam session turns into a bad afternoon. Vacuum every surface first, pulling mats and loose debris out completely. Dry soil left on the seat just turns into mud once steam hits it, and you’ll be pushing grime deeper into the fabric instead of lifting it out.
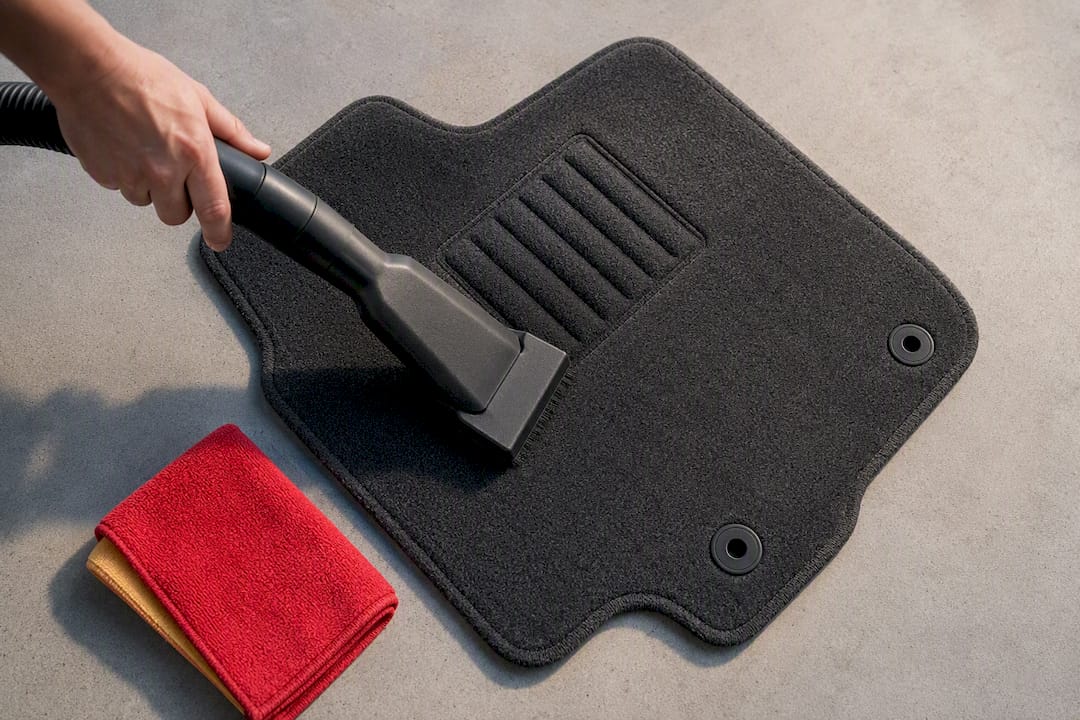
Before you touch anything visible, test a hidden spot, like the underside of a seat cushion or inside a door pocket. Reputable how-to guides consistently recommend this step before working on leather, suede, or headliner material, since heat and moisture can affect dye and adhesive differently across fabrics.
Follow this sequence every time:
Vacuum seats, carpets, and crevices thoroughly, including under the seats.
Remove floor mats and clean them separately.
Steam a hidden patch for 3 to 5 seconds and blot with a white towel to check for color transfer or texture change.
Confirm the area dries without stiffening or discoloring before moving to visible surfaces.
Electronics deserve their own warning. Never point a steam nozzle directly into the instrument cluster, infotainment screen, or HVAC vents. Steam into a microfiber towel first, then wipe those areas indirectly. Work in a shaded, ventilated space, since a hot cabin makes surfaces too warm to judge steam output accurately, and wear thin gloves since the nozzle and hose get genuinely hot.
Pro Tip: Keep a spray bottle of plain water nearby. If a test spot looks questionable after steaming, a quick rinse and blot often tells you more than staring at it will.
What’s the Correct Steam-Cleaning Technique for Each Surface?
The core workflow doesn’t change much from seat to headliner: apply steam, agitate with a brush, then wipe immediately before the moisture has a chance to sit. Working in roughly 12-inch sections and blotting right after each pass keeps you from oversaturating any one spot, which is the single biggest cause of long dry times and lingering odor.
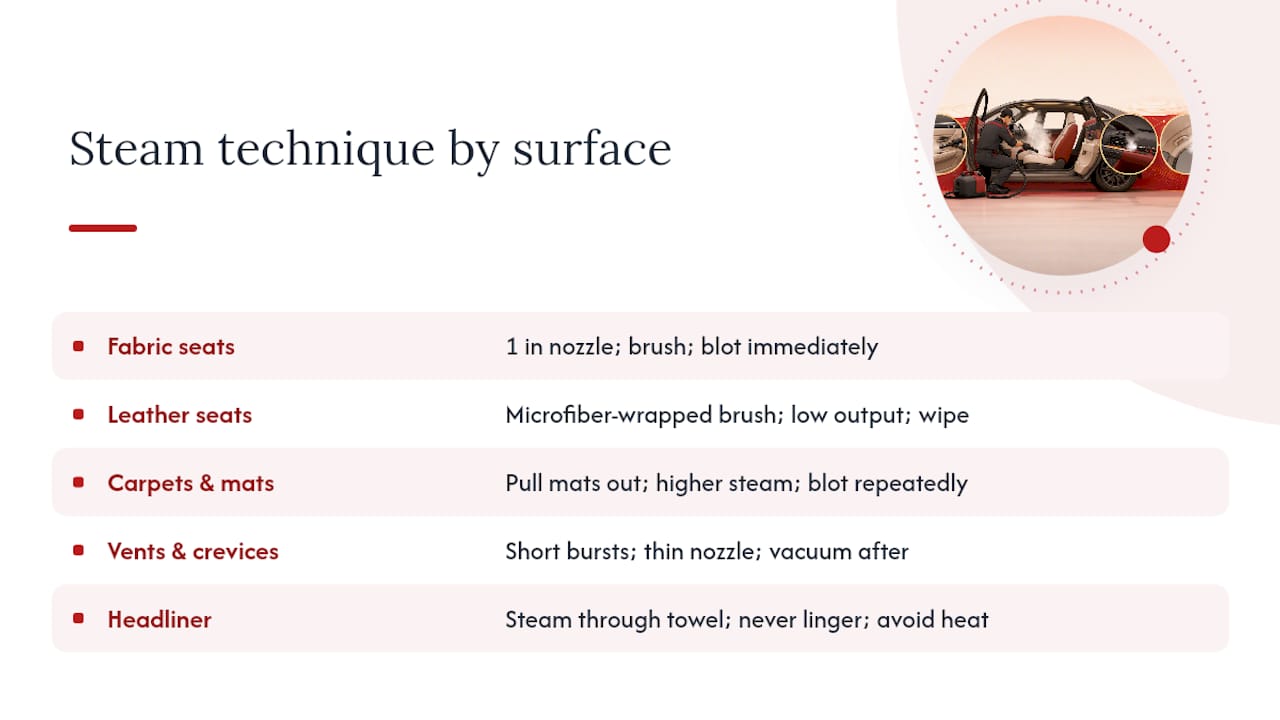
Fabric seats: Hold the nozzle about an inch from the surface, work in short passes, and follow with a soft-bristle brush to lift ground-in dirt. Blot with a dry microfiber towel immediately. Don’t chase a stain with repeated steam blasts in the same spot; that’s how you overwet the foam underneath.
Leather seats: Wrap the steamer’s brush attachment in a microfiber towel instead of applying steam directly to the hide. Use a lower output setting, keep the nozzle moving constantly, and wipe immediately behind it. Once the leather is dry, follow up with a leather conditioner to replace any oils the heat may have pulled out.
Carpets and mats: Pull mats out and treat them separately from the carpet, since they trap more grime and need a different angle for the nozzle. A higher steam setting works here, but repeated blotting matters more than power. If the carpet is heavily soiled or has been wet before, plan for extraction rather than steam alone.
Vents and crevices: Use short bursts with a thin crevice nozzle, then vacuum the loosened dust and debris immediately. Long steam bursts into a vent just push moisture further into the ductwork.
Headliner: Steam indirectly only, through a towel, and never linger in one spot. The adhesive holding headliner fabric to its backing is heat-sensitive, and direct, sustained steam can soften it enough to cause sagging that won’t reverse.
Pro Tip: For leather, the microfiber-wrap trick isn’t optional. Even a low-output steamer applied directly can dry out and crack leather over repeated cleanings.
What Steamer Features and Attachments Actually Matter?
Not every handheld steamer on the market is built for a car interior, and the spec sheet tells you more than the marketing copy does. Look for a dry-vapor ratio, meaning the unit produces more heat than wet moisture, since that’s what sanitizes without soaking your upholstery. Adjustable output matters too: you want a low setting for leather and a stronger one for stubborn carpet grime.
Run time and heat-up time affect how practical the whole job is. A unit that takes 10 minutes to build pressure and only runs for 15 before needing a refill will make a full interior job frustrating.
The attachments that actually get used:
A triangular upholstery tool for flat seat and door panel surfaces.
A narrow crevice nozzle for seams, vents, and console gaps.
Soft-bristle brushes sized for agitating fabric without scratching plastic trim.
A microfiber wrap or cloth attachment specifically for leather.
Consumer handheld steamers do a genuinely good job on surface sanitizing and routine maintenance, but they aren’t built to match the suction and pressure of extraction equipment. Whatever unit you use, follow the manufacturer’s electrical safety guidance and stick to the accessories it’s rated for. Off-brand attachments can leak steam at the connection point, which is a burn risk nobody needs.
How Long Does It Take a Steam-Cleaned Interior to Dry?
Properly steam-cleaned seats typically dry within 1 to 2 hours, and drying times are significantly faster with proper steam and extraction technique compared to standard DIY soaking with shampoo. That gap comes down to how little water dry-vapor steam actually deposits compared to a wet shampoo scrub.
You can speed things along with a few basics:
Crack the windows and run the cabin fan on a warm, dry setting for 20 to 30 minutes.
Point a portable fan directly at the treated seats if you have access to power.
Dry floor mats separately, laid flat in the sun, rather than leaving them in a damp cabin.
Park in a shaded, ventilated spot rather than a closed garage, which traps humidity.
To confirm you’re actually done, press a dry white towel into a seam or low spot on the seat a few hours after cleaning. If it comes away damp or you still catch a musty note the next morning, the moisture didn’t fully clear or the odor source sits deeper than surface steam reached. That’s your signal to book a professional rather than repeat the process.
Where Does DIY Steam Cleaning Stop and Professional Extraction Start?
A handheld steamer and a truck-mounted extraction rig aren’t doing the same job, even though both use heat and moisture. Consumer units are excellent for sanitizing and lifting light-to-moderate stains, but they lack the extraction power and moisture recovery that professional-grade equipment brings to deep, set-in contamination.
Truck-mounted systems run at significantly higher pressure and temperature, and their recovery systems pull moisture and dissolved soil back out of the padding rather than just leaving it to evaporate. That combination reaches contamination sitting well below the fabric surface, something a handheld unit’s low-powered vacuum simply can’t match.
A few clear signs it’s time to call a professional instead of running the steamer again:
A protein-based odor (pet accidents, spoiled food, body odor) persists after two or three cleaning attempts.
You can see mold or mildew growth on cushions or under mats.
The seat foam still feels damp a full day after cleaning.
You need the vehicle back in service same-day and can’t afford a slow air-dry.
How Do Professional Detailers Approach Steam Cleaning?
Mobile detailers who steam-clean cars for a living treat it as one step in a controlled process, not a standalone fix. At Phenomenalautocare, we pair steam cleaning with extraction so the heat loosens soil while the extraction step actually removes it, rather than leaving moisture to sit and re-wick to the surface later.
A technician-controlled approach means:
Consistent, monitored output so leather, headliner, and carpet each get the right steam temperature for that material.
Immediate extraction after agitation, which cuts the risk of the headliner sagging or seams re-wetting days later.
Odor treatment layered in when the source goes beyond what steam alone can pull out.
We recommend mobile service for most maintenance and moderate staining jobs, since we bring the equipment to your driveway or office lot in Mesa or Phoenix. For severe contamination, like a flooded floorboard or long-term mold, in-shop extraction gives us more control over drying conditions and follow-up treatment.
What Mistakes Ruin a DIY Steam-Cleaning Job?
Most steam-cleaning failures trace back to the same handful of habits. Holding the nozzle too close scorches fabric or overwets one spot. Skipping the vacuum step means you’re grinding dry dirt into wet fibers. Steaming the same section repeatedly without blotting soaks the padding underneath, which is exactly what stretches drying time past that 1 to 2 hour window.
Two mistakes carry real risk: aiming steam directly into vents or electronics, and holding the nozzle against the headliner instead of working through a towel. Both can cause damage that isn’t cheap to fix.
If something looks off mid-job, stop and address it immediately:
Blot excess moisture right away rather than letting it sit.
Open doors and run fans for extra airflow if a section looks oversaturated.
Pre-treat a stubborn stain with a dedicated cleaner before hitting it with more steam.
Stop entirely if you see the headliner sagging, hear electronics acting up, or notice fabric stiffening.
Pro Tip: If a stain hasn’t budged after two focused passes, more steam isn’t the answer. Switch to a spot pre-treatment or plan for extraction instead.
Why We Treat Steam as a Core Part of Interior Care, Not an Extra
Steam earns its place in a detailing routine because it sanitizes without relying on harsh chemicals, and it saves real time compared to wet shampoo methods. We use it as the loosening step, then follow with extraction and conditioning to lock in a result that actually holds up over weeks, not days.
DIY steam cleaning handles a lot on its own. When a job goes beyond that, whether it’s old pet stains or a cabin that’s been neglected for a year, reach out and we’ll take it from there.
— Phenomenal
Ready for a Deeper Clean Than a Handheld Steamer Can Deliver?
Some mobile steam-extraction services offer what a consumer steamer can’t: technician-controlled heat, moisture recovery, and operators who know which materials need indirect steam and which can tolerate a stronger pass. This provides a trained hand and equipment built for full extraction, not just surface sanitizing.

A typical booking covers a full interior steam-extraction pass on seats, carpets, and mats, with odor removal and leather conditioning available as add-ons depending on what your cabin needs. Most jobs wrap up the same visit, and we work around your schedule at home or at the office. If you’re weighing whether your car needs a quick refresh or a full extraction, book a mobile detailing appointment in Mesa and we’ll assess it on-site before we start.
Sources
FAQ
Is it okay to steam clean a car interior?
Yes, dry-vapor steam is safe for most car interior surfaces when you test a hidden spot first and avoid direct contact with electronics, vents, and the headliner.
Are steam cleaners worth it for cars?
For routine maintenance, sanitizing, and light-to-moderate stains, yes. They fall short on deep-set stains like old urine or mold, where professional extraction pulls out contamination steam alone leaves behind.
What are the disadvantages of a steam car wash?
The main drawbacks are limited extraction power on deep stains, the risk of headliner or electronics damage from misuse, and longer effective cleaning time if you oversaturate a section instead of blotting immediately.
What do professional detailers use to clean car interiors?
Professionals typically combine steam with mechanical extraction equipment, using steam to loosen soil and extraction to remove moisture and residue in one controlled pass, which is how services like Phenomenalautocare’s steam extraction reach contamination handheld units can’t fully clear.
Recommended
Comments